
In this article, learn how to make a Build standing desk yourself can. Very simple and uncomplicated from wood. I am passionate about building my own furniture from old material. So I also built my new standing desk myself, because I can work really well and concentrated while standing. I will now show you how you too can build your own standing desk in just a few steps. From old oak wood that would otherwise have ended up in the fireplace. Let's go!
Here is another short Table of contents incl. the individual work steps:
- Why build standing desk yourself?
- Sketch
- Find material
- Cleaning & pre-grinding
- Planing & Cutting
- Grind smooth
- Dusting
- Painting
- Screw tight
- Ready!
- The alternative
- Conclusion
Why build a standing desk yourself?
First of all, I would like to give you the reasons why you should build your own standing desk and then work more often standing up. For me, the following advantages are in the foreground:
- I work more focused and attentively at a standing desk
- Old material (here: garden fence posts + oak slab) is upcycled and not burned
- Standing up, I don't get tired as quickly and can work on my projects for longer
- I can design the self-made standing desk the way I want it to be
- At a standing desk I never have back pain because I stand bolt upright
- By building the standing desk myself, I can also show you and other readers something
- It's just cool to be crafty or to learn to be crafty.
You don't believe that you can work more concentrated while standing? Then try it out and be proven wrong 🙂 Many people work at height-adjustable standing desks because they want to fight their back problems or simply work more attentively. So much for the basics of a standing desk. Now I'll show you step by step instructions on how to build your own standing desk.
1. sketch your standing desk

First, just get clear on what you want your homemade standing desk to look like in the end. A lot of wood, a lot of metal? What would you like? I opted for wood and may add some metal in the aftermath. The sketch for the standing desk doesn't have to be a work of art. Here's what you should know before you build your standing desk yourself:
- Dimensions: length x width x height (the height is to be adjusted individually for each).
- Material: wood (oak, beech etc.), metal etc.
- Special features: Compartment for pens, drawers, etc.
Since I live minimalist and think, I have also decided to build a minimalist standing desk. The standing desk should basically be made of wood and have dimensions of L110 x W35 x H111 cm. The height is of course very important. You should be able to work on it standing up straight and comfortably.
Test out a bit beforehand at what height this is the case and include it in your sketch. Now you need material, as sustainable as possible, of course.
2. material for the standing desk
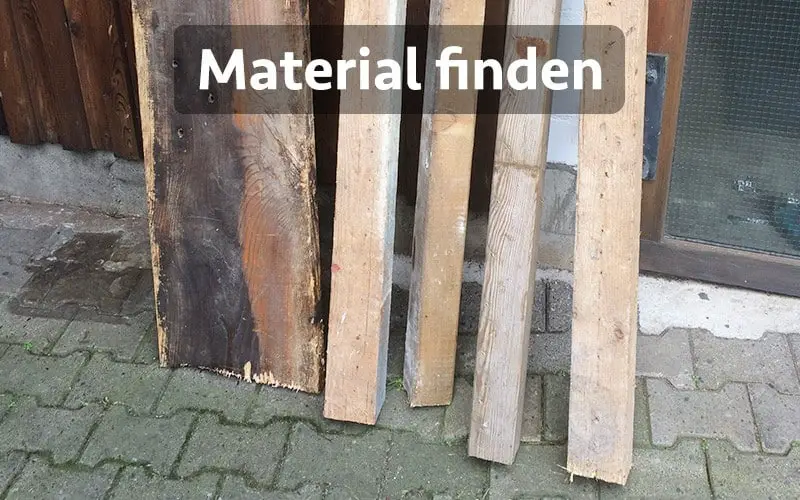
Anyone can buy new. But I wanted to build a sustainable standing desk myself, where I use old material once again. Completely in the sense of the Zero Waste Lifestyle. The necessary material was still at my home in our shed. A cool rustic plank of oak and old fence posts that would otherwise have become firewood. Later on, I had a metalworker cut two metal plates to connect the feet of the standing desk to the tabletop.
If you can't find it at home, I recommend the following material sources for your own upcycled standing desk:
- Storage shed at the neighbors
- Scrap yards near you
- Along railroad tracks or small stations can often be found old pallets, boxes, etc..
- Carpenter - Here falls a lot of material that you can still use
- ... the possibilities are endless, ask around a bit 🙂
For editing I still needed:
- Coarse sandpaper e.g. K80 (you get here* or locally in the hardware store)
- Fine sandpaper e.g. K120 (you get here* or locally in the hardware store)
- Cork grinding block (you get here*)
- Wood brush (you get here*)
- Wood stain (here you find a selection*)
If you have everything together, the foundation is laid so that you can build your own wooden standing desk. Now it's time for the material processing!
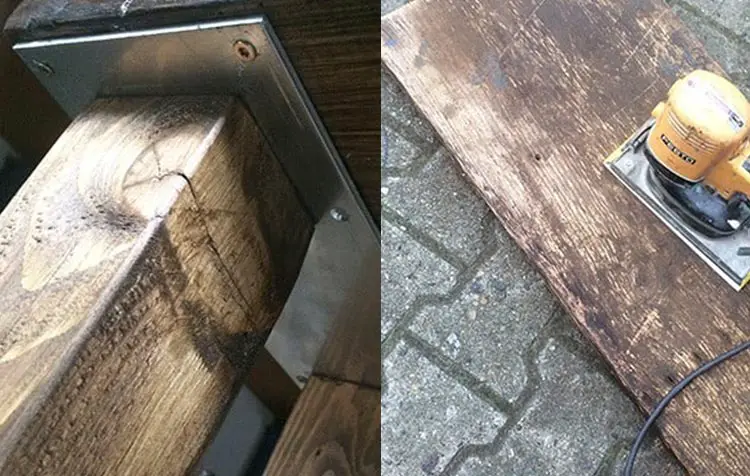
3. standing desk material clean & pre-sanding
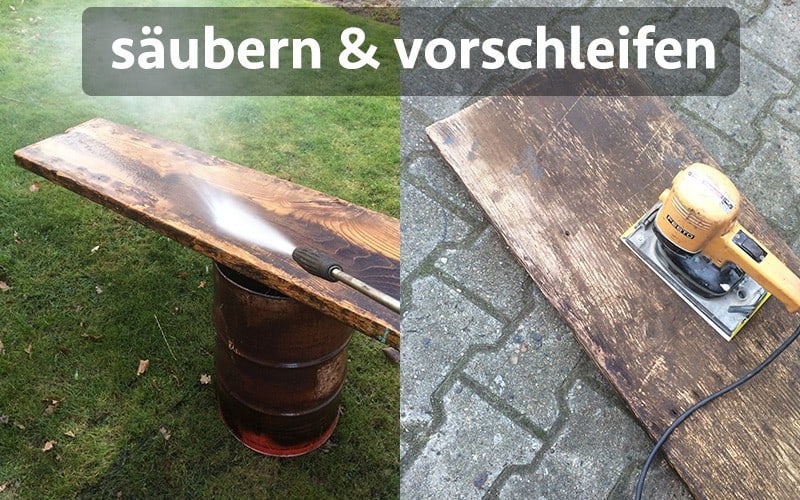
Before you either cut your material for the standing desk yourself or take it to the carpenter, you should first check it for worms, dirt, nails and screws. For me, that meant once I had checked all my lumber, I gave the wood another quick pre-sanding to get rid of any excess but solid paint. Before that, I had still cleaned the wood with the high-pressure cleaner and let it dry briefly.
The carpenter then makes up for the rest by planing and cutting. Because the next step is now to get a nice straight standing desk.
4. standing desk material planing & cutting
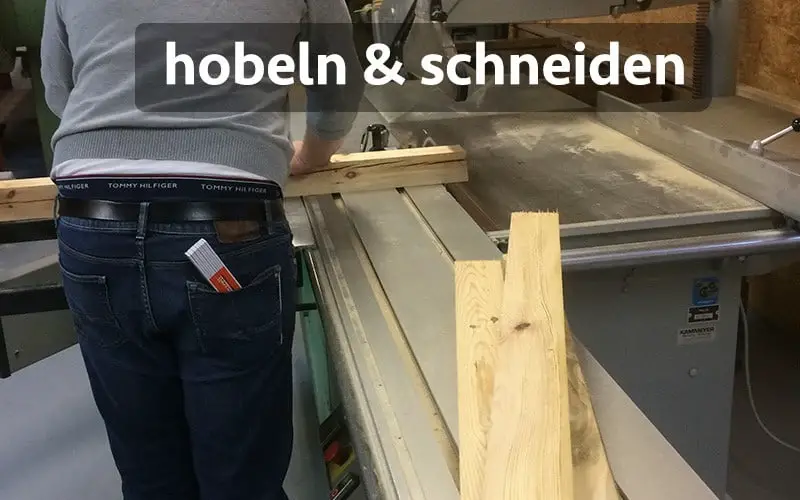
To ensure that the self-built wooden standing desk really stands up straight and does not wobble, precise machines are required. This work is best done together with a carpenter in your area. First, the surface of the desk must be planed smooth. A few joints remain, but it looks cool. Nothing is more boring than a straight Ikea desk.
Next up are the legs for the standing desk. They are cut to the exact same height and planed to the identical thickness. The next important step in the instructions for building a standing desk yourself is done. Off you go home!
5. standing desk wood smooth sanding
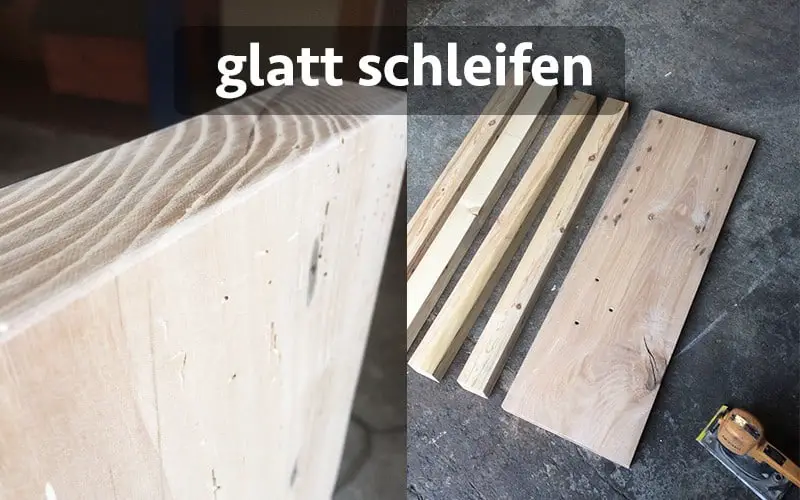
At this stage, the planed wood is still sharp. Therefore you grab coarse sandpaper (80 grit)* and go with the paper over all the wood and especially its edges. The surface of your desk top should of course be smoother than the underside. Try not to sand so much on the underside of the standing desk so that the surface remains nice and even and the desk doesn't wobble afterwards.
The same applies to the bottom side of the feet and their side adjacent to the surface. After you have sanded everything with the coarse sandpaper, you can sand the wood again. with such fine sandpaper (K120)* revise.
6. clean & dust woods for painting
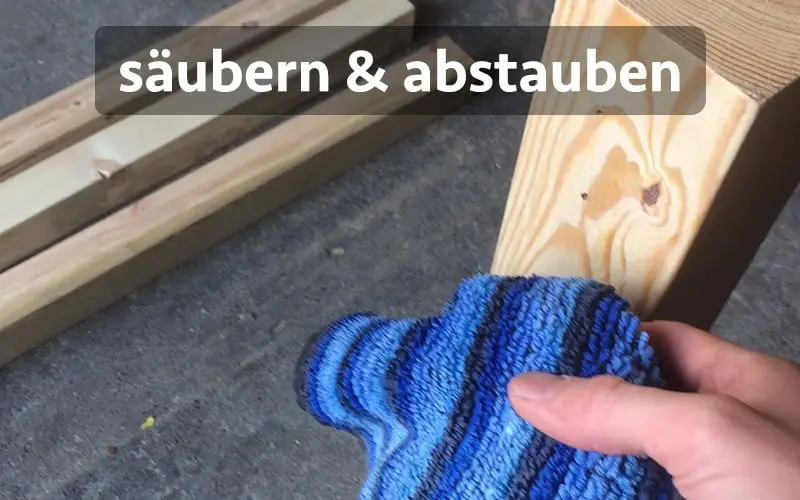
This is absolutely uncomplicated. If you want to paint your self-made standing desk in the next step, you should first remove the dust from the sanding. A damp towel is sufficient for this purpose. When you have your cut, sanded wood ready, you can finally paint it in the next step. Soon you will have built your own standing desk. Cool, isn't it?
7. standing desk material painting & drying
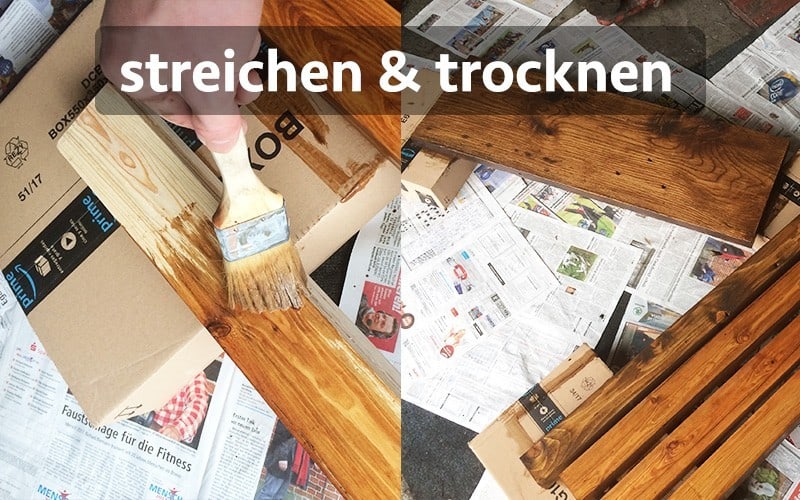
The color. Well, that's really a matter of taste. There are thousands of ways to paint your homemade standing desk. I'm a walnut fan (for example I have Walnut push up grips) and have therefore opted for a natural walnut laser. Here you get a selection of wood stains*.
Simply place the feet and surface of the standing desk on old cardboard boxes so that they are a little higher and can dry from anywhere.
Then grab such a wooden brush* and your wood stain and get started. Depending on the room temperature, you can repaint on the same day or the next day. You should do this in any case, so that the paint is evenly distributed and no drops are visible. The instructions for building your own standing desk are coming to an end. Now everything must be screwed together.
8. screw the standing desk together
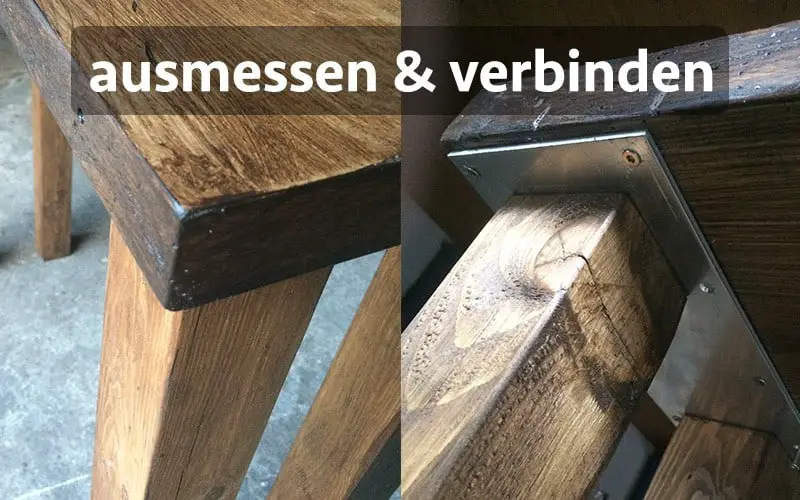
Feet and surface of the standing desk are painted ready, now, of course, they need to be connected. Ideally, the connection should not be visible when looking at the desk normally. To complete the instructions for building a standing desk positively, I had two sturdy metal plates cut to size by a well-known metalworker, so that the plates fit exactly under the wooden tabletop without protruding.
Holes are drilled on the outside of the metal plate, which are then used to attach the metal plates to the tabletop. Before you do this, however, you must drill 4 holes in each of the places where the metal plate is to rest on the feet. This gives the homemade standing desk proper stability, because you should not underestimate how high the table is.
Once again, briefly summarized: First you screw the feet to the metal plates. Then you screw the metal plates (with the feet) to the table surface. Done. Transporting the table is then also easy, because you can simply unscrew the two foot sections and screw them back on at the place of use.
9. the self-made standing desk!
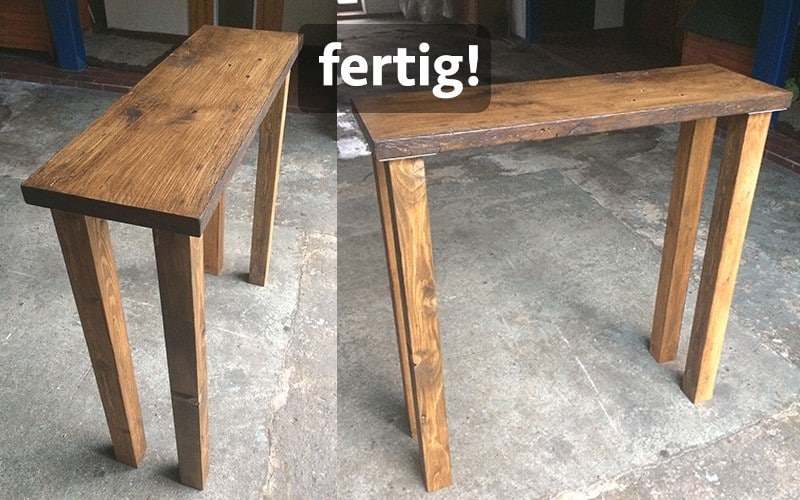
Well, what do you think of the table? Uncomplicated, minimalist and sustainable? Me too! As soon as I have the standing desk with me in Berlin (I built it at my hometown) I'll make you another nice photo where the standing desk is in use. Possibly I will add a cool grid, which you can then use like a bulletin board. As soon as there is news, I update this article of course. 🙂
Alternative to build your own standing desk?
Is all this too much work for you? Then is guaranteed also a height adjustable desk something for you. It's easy to set up and you can adapt it to your needs. In addition, as with the DIY desk, it is extremely pleasant to work standing up from time to time and to spare your back a bit.
Build standing desk yourself - Very simple!
Basically, you can easily build your own standing desk. Uncomplicated, sustainable and exactly how you would like your standing desk. I also use the time in which I build a new piece of furniture myself to simply switch off completely. I can only recommend you to do that regularly 🙂 .
Do you have any questions, tips or suggestions? Then feel free to write me a comment below this article.
Best regards,

PS.: If you want more Do It Yourself tips, just check back here regularly at the Do It Yourself Blog over.


Thanks for the good tips, like from the carpentry. These instructions are very simple. With it we could build some inexpensive tables for a homeless shelter and bring joy to the people there.
Hi Miriam! That's great!! 🙂
Thank you and best regards,
Christoph
I think it's great that a great table is rebuildable here. When my carpentry around the corner have visited me and with a few suitable scraps have gathered it can go off. I would never have thought that it can be so simple and yet valuable.
Hi Mika! Thanks for your feedback and have fun rebuilding 🙂 .
Best regards,
Christoph
Thanks for the good post. When I have picked up my milled parts, I will also make myself to such a standing desk as the next project. Because of the glaze I still have to look, but I think it will be a white table.
Hi Mia, thanks for your feedback! I can tell you that the table is really fun to work on 🙂 .
Wish you a lot of fun with the implementation of the standing desk.
Many greetings
Christoph
Comments are closed.