With images you make your website really vivid. They are ideal for bringing excitement to your site. They lighten up texts, arouse emotions and create an instant connection with your site visitors. Wonderful, isn't it?
On the other hand, images also always mean high data transfer. And when a lot of data is transferred through lines and networks, this naturally requires energy. A lot of it, if you look at the entire Internet. After videos, images are responsible for the most traffic and thus for the Internet's huge carbon footprint.
Do you have to completely abandon images on your website? No! This article by Simon (sustainable photographer) and Gerrit (sustainable web designer) shows you step by step which things you have to pay attention to. This way you can reduce the data load on the one hand and on the other hand take full advantage of the great benefits that images bring. Bonus: This way your site will load much faster and rank higher in search engines.
- Do they have to be pictures?
- Put image quality over quantity
- Find the right place of operation
- Developing a sustainable visual language
- Choose stock photos skillfully
- Make pictures yourself
- Hire photographer
- Set size, resolution and level of detail
- Choose file format and compression
- Load images "lazy
- Enable caching
- Optimize images for SEO
Tip: In another post, you'll learn about some more methods you can use to create environmentally friendly websites and online stores simply by following your heart.
1. do they have to be pictures?
"A picture is worth a thousand words" is something you often hear. But as always: it depends. Images almost never stand alone on websites. They support the content. So always start with the content first and make it strong: with a well-thought-out structure, strong headings and easy-to-read text. Once that's done, you can divide the different sections of your pages with color areas in the background, bringing excitement and variety to your website. Without any additional kilobytes.
After that, you can support particularly important statements with pictures. But maybe not with photos? Graphics (saved as vector graphics or PNGs) usually have a smaller color gamut and thus much less data load.
But as mentioned above, images have wonderful advantages. If you don't want to miss them, now you'll learn how to get the most out of them.

2. put image quality over quantity
Rather use few, meaningful images with high quality than too many images that provide little added value or are of poor quality. "Less is more" fits perfectly in this case.
You have probably also cursed about a too fast slider on autoplay? If possible, avoid image carousels and sliders or extensive image galleries. They are simply ignored by most visitors on your pages. Too bad about all the data that was transferred uselessly.
The same goes for full-screen background images. Use them only when they really reinforce your message. Often they unintentionally compete with the content. You can't have that.
3. find the right place of operation
If you only take one thing away from this article, it's best to take this: Images support content. Use them to make the most important sections of your website shine visually.
What are the most important sections? You derive this from the goal of your website. Is it about a product, a service or you as a person? Where do you gain the trust of your site visitors? What do you want them to do? Where do you remove the biggest doubts of your target group(s)? Create a kind of "storyboard" for your website and mark the places that are particularly important.
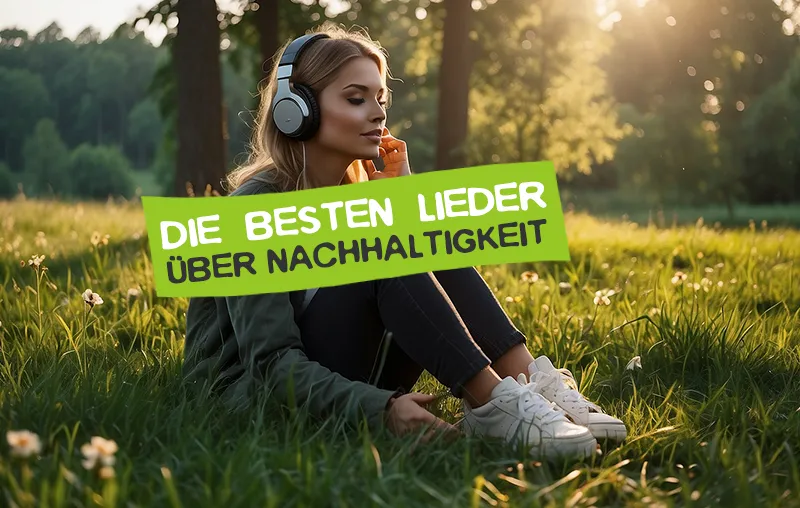
One of these places is almost always: the first impression. There's no second chance for that. If you decide to use an image in the header of the landing page, take special care to evoke exactly the emotions you want to convey.
4. develop sustainable visual language

Throughout the website, your images should definitely "speak the same language". That means the same quality, the same color scheme, the same imagery. Images are an important part of your branding.
If the character of your company is free, informal and friendly, a distant image in cool colors will cause confusion and raise doubts. Here, positive emotions, sympathetic people and a bright, inviting visual language will help you achieve your goal.
Feel free to jot down a list of your brand's most salient traits and consult them when selecting images.
5. choose stock photos skillfully
If you decide to use stock sites for your sustainable imagery, it's best to plan enough time for research. There are already quite good free libraries like unsplash.com or pexels.com. Nevertheless, it is often more time-consuming than expected to find motifs that optimally support your text statements and at the same time speak a consistent visual language. The amount of free stock is limited and often it pays to browse paid stock sites for more selection. The best way to do this is to create a large selection of free thumbnails in a folder and then sort out unsuitable photos. This way you avoid paying for photos that you don't want to use in the end.
Advantages stock photos: free to low cost, large selection, quick to have.
Disadvantages: impersonal, many use it, models are often the same, rarely different subjects with the same visual language, imprecise.
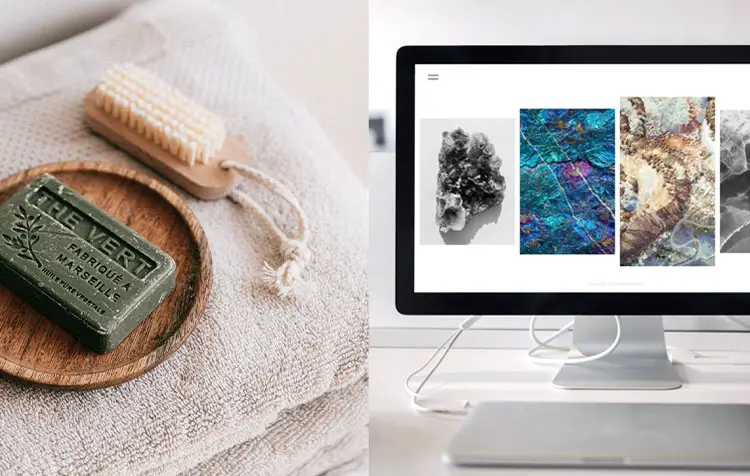
6. make pictures yourself

Of course, you can also go ahead and take your own pictures. With your smartphone or digital camera, it's easier than ever. The more interested you are in photography and the more knowledge you have in this field (including post-processing), the better results you can achieve.
Again, your homemade images should not only be of high quality, but also match your branding. Make a plan of what exactly you want to show. Unlike stock photos, you can tailor the images much more precisely to your individual needs.
DIY (do-it-yourself) is cool and you may be able to use the "imperfect" exactly to your advantage. Rather, don't try to hide it and look professional or take glossy product photos yourself. This usually backfires and looks particularly unprofessional.
Advantages DIY: cool, individual and personal, better plannable than stock photos, cheap
Disadvantages: Quality depends strongly on the skill, color and picture language can deviate, costs by working in possibly more time
7. hire photographer

When it comes to professional pictures, a photographer is usually the best choice. Whether for portraits or product photos. This puts the responsibility for accurate branding, consistent imagery and precise image information in the hands of experts.
When searching for the right person, make sure you have a comprehensive consultation in advance, because of course your branding needs to be discussed intensively here as well. Ideally, a photographer will guide you through the entire process so that you can sit back and relax. Also clarify the intended use before the start of the shoot. You need high-resolution photos for printed materials, but on the web, the focus is on low data loads and fast loading times. Here you should already be provided with optimized images and several variants.
If you have to use a plane for a shoot, that's not very sustainable. The choice of equipment and many other factors also determine how sustainable your photos are in the end. Fortunately, there are already a number of photographers who have sustainability on their radar.
Advantages photographer: Consistent image language, precise image information, perfect image export for the web, optimal external presentation, clear rights of use, comprehensive advice
Disadvantages: possibly more expensive, arrangements need a little more time
8. set size, resolution and level of detail
If you don't get optimized images, it's up to you. But don't worry, with a few guidelines you can reduce the data volume so that you end up with high-performance images without (visible) loss of quality.
The biggest adjusting screw for kilobytes is the resolution of the image. On the web, this is the edge length measured in pixels. You can neglect the value "dpi" or "pixels per inch", it is only relevant for printouts. Always look at the concrete place of use of the image and define a maximum size: e.g. long edge 800px (medium sized image on website), 1400px (large image) to 1920px (banner or page filling image). Possibly for 4K monitors also 3840px, but this is rarely necessary.
Many CMS like WordPress automatically create different versions of the images in the background. So no huge images are loaded on smartphones either.
If you know your way around image editing programs, you can optimize further: More grain means less file size, but also less detail. You can blur edges with a blur tool. Black-and-white or duotone rendering reduces the color gamut, which you may be able to use for your branding.
9. select file format and compression
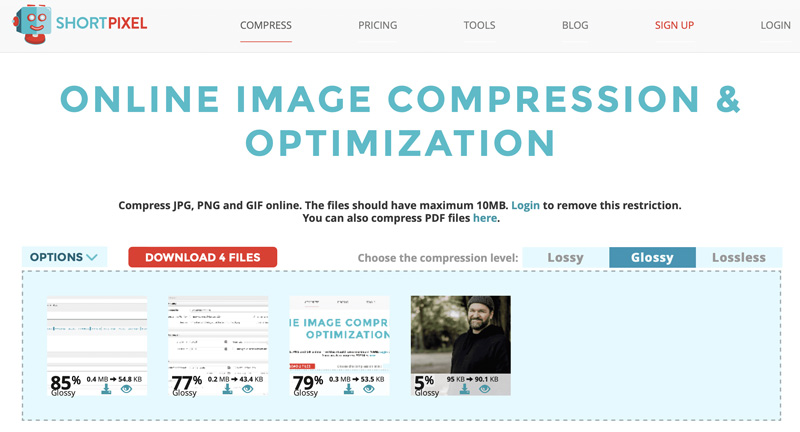
If you save your photos in JPEG format, you can adjust the quality. This can be done manually in your image editor or fully automatically using online tools like shortpixel.com. The best choice at shortpixel are the options "lossy" (if you can live with some loss of detail and are looking for minimal file size) or "glossy" (if you also want to preserve details).
The tool is very easy to use and you can easily compare and check the results.
Then you can decide if you want to customize the file format. WEBP or AVIF save the data up to 50% more efficiently compared to JPEG. Modern browsers already support both formats. If you use WordPress, you can install e.g. the plugin "WebP Converter", which converts everything in the background, you don't need to do anything else. For older browsers that can't handle the modern formats, even the JPEG versions will still be displayed.
10. load images "lazy
The approach of "lazy loading" for your pages is quite exciting: Initially, only the images that are actually displayed on the screen are loaded. All others are left out for the time being. They are only loaded when the page visitors actually scroll to this position.
This means that lazy loading offers enormous savings potential, especially for image-heavy pages. A kind of turbo booster for loading times. Of course there are suitable plugins in WordPress. You don't use WordPress? If you have access to the HTML code of the page, just add the attribute loading="lazy" to the image tag. Done.
11. enable caching
Wouldn't it be ideal if no images had to be transferred at all? Not possible? Almost. With caching. With caching, you tell the browsers of your site visitors to store the images internally. On the next visit, the browser "remembers" your instruction and pulls the image from local storage. The data transfer of images for the next visit is zero. Especially if you run a website where you have many returning visitors, image caching is a great way to reduce the negative footprint of your pages and greatly reduce loading times. That's why caching is included in WordPress as an option with many performance optimization plugins (WP-Rocket, WP-Optimize and many more).
12. optimize images for SEO
Last but not least, you should make sure that your images are found via image search. You ask yourself: search engine optimization for images? Why is that? Image search via search engines is used more and more. If people quickly find a matching image to their search term, they spend less time searching and are more likely to land on your site.
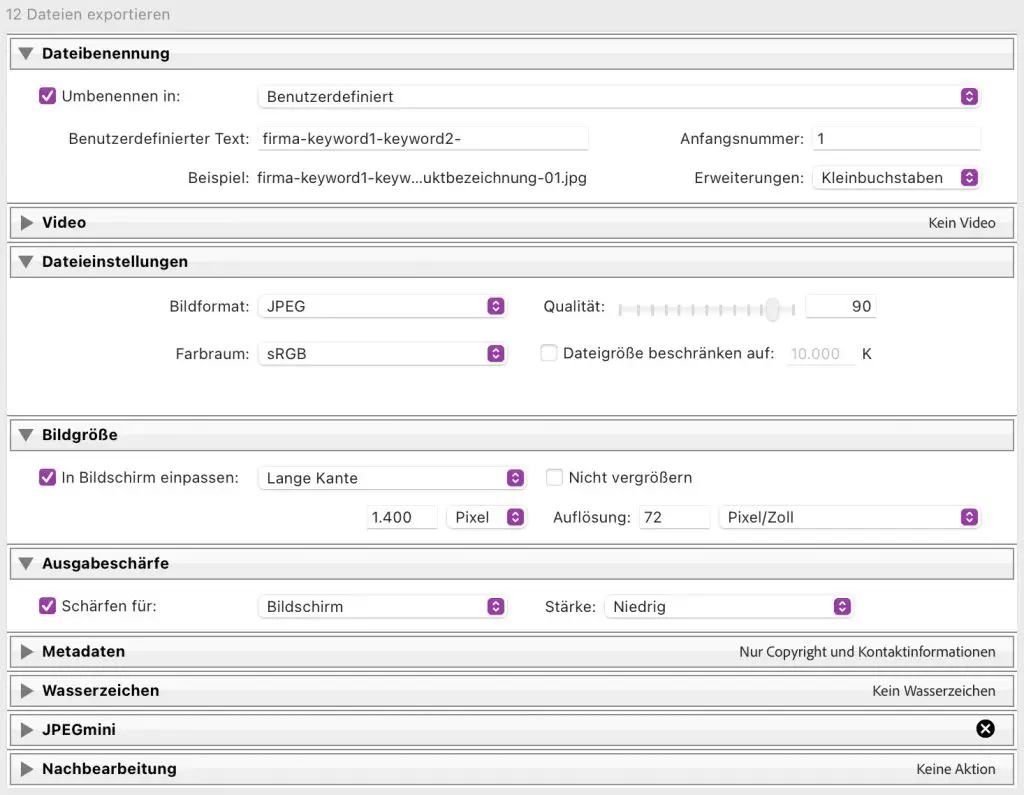
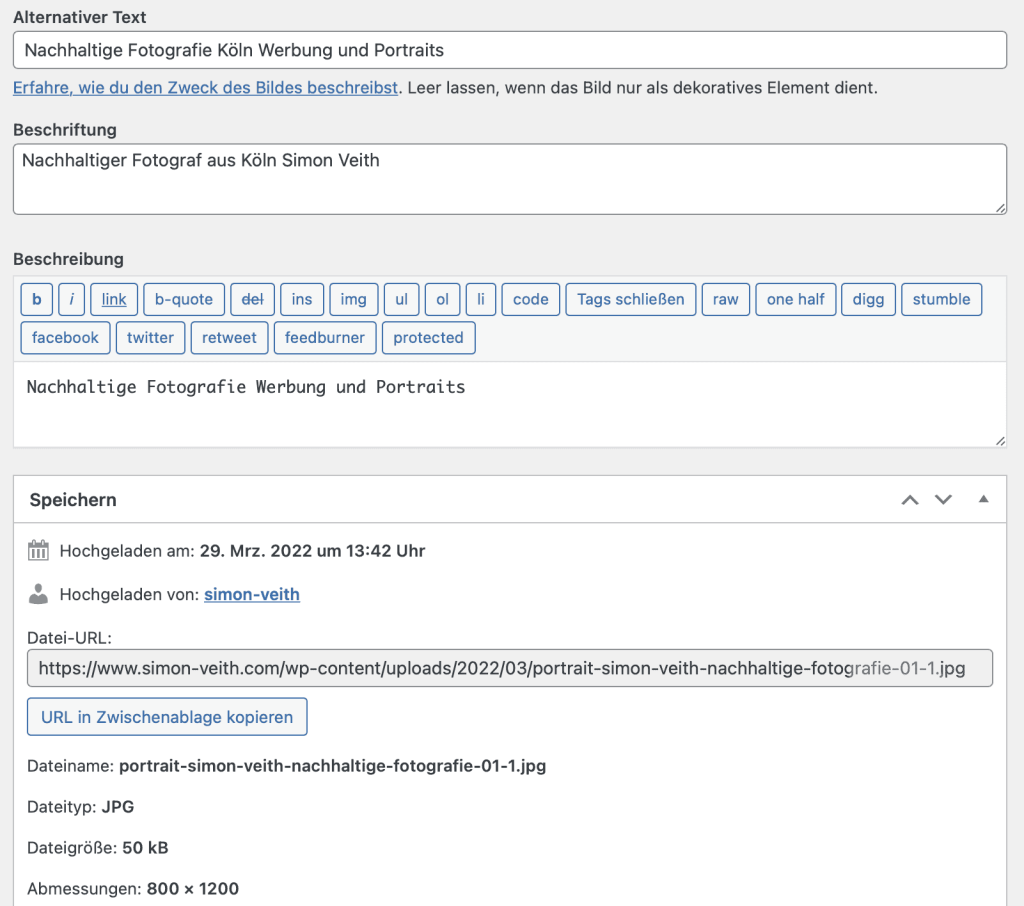
The best way to name the image file is like this: company-keyword1-keyword2-product-number.jpg (or *.webp or *.avif) You should also always assign an ALT text. Of course it is good if your keywords appear here. But do not overdo it. Always describe briefly what you see on the image. (This is especially important for blind people and others who rely on screen readers and similar technologies).
Finally, the caption should also contain your keywords and a clear description. This way you will please search engines and site visitors alike.
Use sustainable images for websites!
As you can see, there are many ways to use images sustainably. From very general considerations, which significance they should have on your site at all. About the support of your brand and mission. To technical tricks that optimize even small details.
Images are especially powerful when they support what you want to say. If you also make sure they load efficiently using the methods we've outlined, you can make a real difference with them.
Have fun with it!

PS.: On the following links you will find information about the authors Gerrit Schuster (gerritschuster.com) and Simon Veith (simon-veith.com). Gerrit is also the initiator of sustainable-websdesign.now.
The images in this post are by Simon Veith | Sustainable Photography